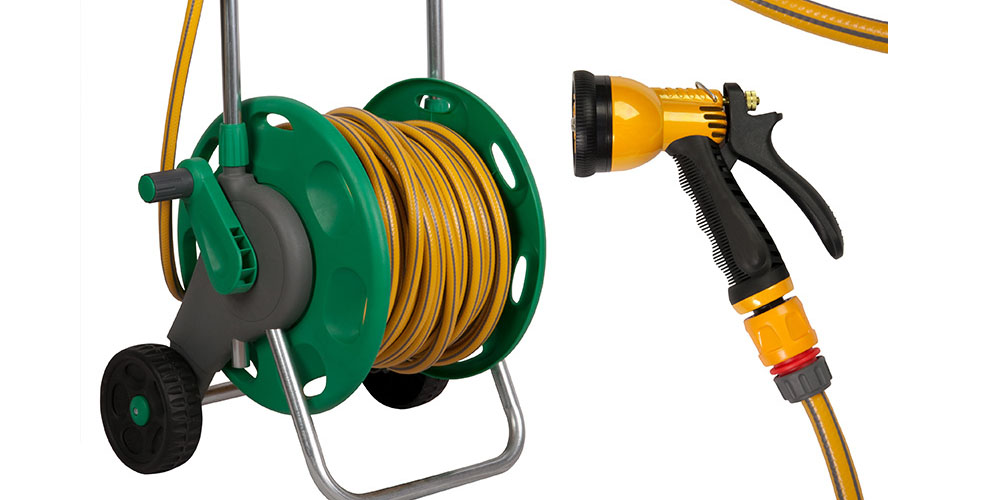
Naturally, after purchasing, inspecting, and assembling your hose reel, the next step is to attach it to your water hose. Remember that the primary reason hose reels were established is for their water hose storage function. Attaching your water hose to a hose reel is not challenging. In this write-up, we look at attaching the water hose to hose reel.
How to attach your water hose to your hose reel
Below are some guiding steps for attaching a water hose to a hose reel. ;
Step 1: Mount the hose reel
The first thing you must do before starting the attachment process is mounting the hose reel. The process of doing this is mainly dependent on the type of hose reel and its design. Mounting the hose reel is not too hard. This means that that you can handle the process by yourself without any professional assistance.
Step 2: Collect the tools for attaching the hose to the hose reel
After mounting the hose reel, the next natural step is to start the attachment procedure. The first step here is collecting the necessary tools. While the process does not require heavy and complicated tools, you will need the following products;
- A hose connector
- Starter kit
- And a premium flex hose
Step 3: attach the hose to the reel
This is a straightforward part of the process. All you have to do is ensure that the tap connection points, spray part, and side reel are highly secure. Doing this will ensure the correct performance of the hose reel and the hose alike.
Step 4: Connect the starter kit
The next step is to connect the starter kit from the leader, then the hose, and the spray end of the hose. The starter kit is usually located at the tap.
Step 5: Install the connector
The next part of the process is installing the connector. Here, you must join the outside of the reel and the other tap connector together. Afterward, it would be wise to install the connector to the other end of the leader hose.
Step 6: Place the rubber washer
After the above steps are accomplished correctly, the next step is placing the rubber washer. The rubber washer typically goes into the bottom part of the hose attachment. This is on the female end of the connector. The female end is the part that is horizontal to the ground. Placing the rubber washer allows the drum to have a watertight fitting.
Step 7: Thread the screw tightly
Thread the screw to one end of the female connector within the inner drum. Ensure that it is tight enough, then attach the other end of the hose pipe to the faucet. Take care not to place too much pressure on the plastic components.
Step 8: Connect to the reel drum
Finally, you must connect the female and male ends to the reel drum. From there, you can spin the hose around the drum and start using it.
Final word
Note that it would be wise to understand the various components of a hose reel before starting the attachment and installation process. This way, when you are reading and following the instructions, you will understand what the manual is referring to when certain names are mentioned. This will ensure that you do not get any part of the process wrong.
